How to polish a car, in one sentence: wash and clay the paint, pick the mildest compound that fixes your defects, work small sections with moderate pressure, then wipe down and inspect. Machine polishing is how you remove swirls and dullness and bring back real depth of colour — and it’s absolutely something you can do yourself. I’ve taught this to complete beginners in my studio for 13 years; the method below is the one that keeps them out of trouble.
In this guideCan a beginner machine polish?What polishing actually doesChoosing the compound gradeStep-by-step techniqueOne-step for tired paintAfter polishingHow often to polishFAQ
Can a beginner really machine polish a car?
Yes — with a dual-action machine, sensible compounds and small working areas, the risk is far lower than people fear. The horror stories about burnt paint come from rotary machines run fast on edges. A first-timer working with moderate pressure, low-to-medium speeds and a modern polishing paste has a wide safety margin.
What polishing gives you is worth the effort: removal of fine scratches and holograms, restored depth of colour and gloss, and a surface that’s properly prepared for wax or coating afterwards. It’s the single biggest visual upgrade you can make to a used car.
What does polishing actually do to your paint?
Polishing levels the clear coat by removing a microscopic layer, so light stops catching on scratch edges. A swirl mark looks white because its edges scatter light. An abrasive paste, worked with a pad, planes the surrounding lacquer down until those edges disappear and the surface reflects evenly again.
That’s also why compound choice matters. Every pass removes a little clear coat — so the golden rule in my studio is: always start with the least aggressive combination that will do the job, and only step up if the paint tells you to.
How do I choose the right car polish grade?
Match the abrasive grade to the defect, not to your ambition. Our polishing range is deliberately a three-grade system, plus an all-in-one for light refreshes. This is the exact table I keep pinned up for new staff:
| Grade | Cut | Use it for |
|---|---|---|
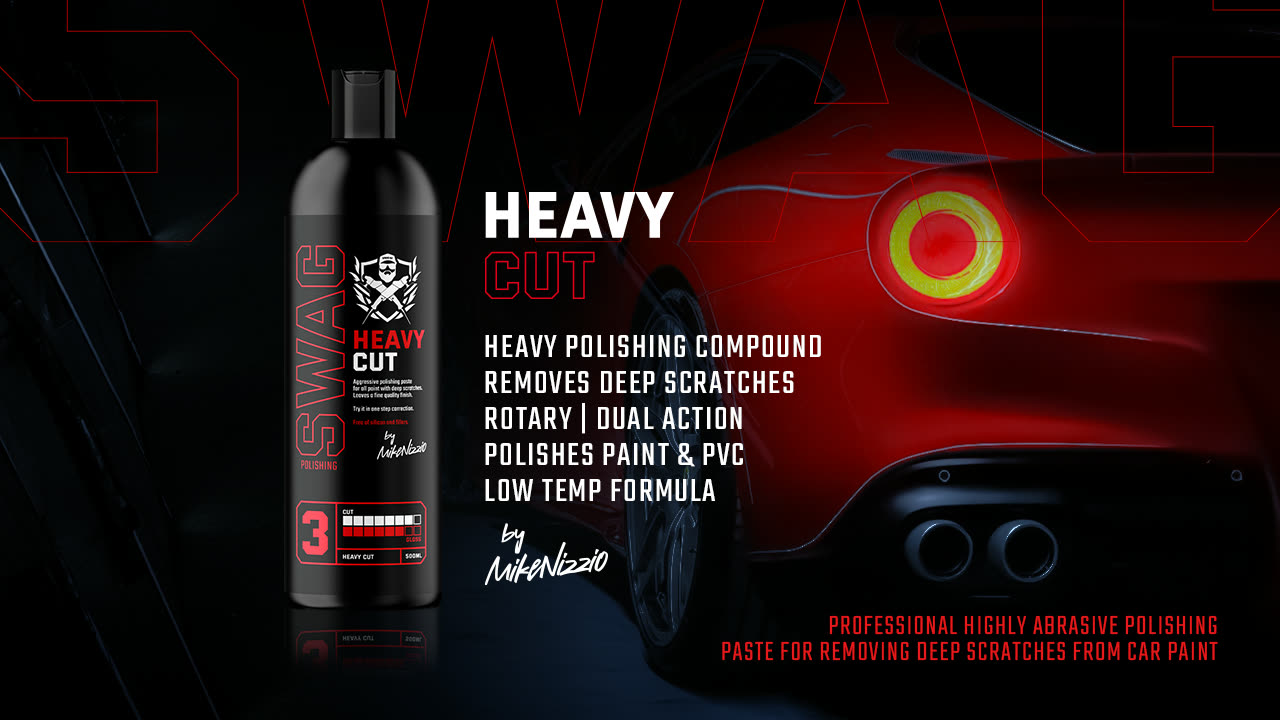
| HEAVY CUT V.2 | Aggressive | Deep defects, etching, heavy dullness. Works on a range of pads and backing discs. |
| ONE STEP POLISH | Medium | Moderate scratches — correction and gloss in a single stage. Runs cool and works efficiently. |
| PERFECT FINISH V.2 | Ultra delicate | Holograms and fine marks; final gloss. Excellent on metallic and pearl paints, minimises the risk of overheating the lacquer. |
Most daily drivers with normal wash marks need One Step Polish and nothing else. Heavy Cut is for genuinely damaged paint — and it should be followed by a finishing stage. The full range is in our Paint Polishing category.
How to machine polish a car step by step
Preparation is half the job — never put a polisher on a dirty panel. Here’s the studio sequence:
- Wash thoroughly. Any grit left on the paint becomes fresh scratches under the pad.
- Clay the paint to lift bonded contamination — tar, tree sap, industrial fallout — that washing can’t remove.
- Dry with a soft microfibre so you’re not marring the surface before you start.
- Apply a few drops of your chosen paste to the pad. More product does not mean more correction — it means mess.
- Work one small area at a time — about 40×40 cm. Moderate pressure, steady overlapping passes, and keep the machine moving. With Heavy Cut, keep the speed low; the paste does the work, not the revs.
- Work the paste through, then wipe the residue off with a clean microfibre and check your result in good light. If the defect is still there, repeat the section — don’t press harder.
Watch me run a heavy correction stage start to finish here:
Is there a shortcut for lightly tired paint?
Yes — an all-in-one product polishes lightly, masks fine swirls and protects in a single pass. ALL IN ONE AIO V.2 combines three things: a cleaner that strips light oxidation and residue, a glaze that fills circular micro-scratches and darkens the paint, and a wax that leaves a hydrophobic protective layer.
Shake the bottle, put a few drops on an applicator, spread a thin layer in circular motions over clean, dry paint, leave it for a minimum of 15 minutes, then buff with a high-GSM microfibre. You get gloss, depth and that wet-look finish in an afternoon — without a machine if needs be. It won’t remove real scratches, but on a well-kept car it’s a brilliant maintenance polish.
What should you do after polishing?
Degrease, inspect, protect — in that order. After an aggressive stage like Heavy Cut, wipe the panel down with a degreaser before judging it: polishing oils hide defects, and you may need to repeat the process once you can see the true surface. I’ve written a short panel wipe guide on exactly this.
Then protect your work. Freshly polished lacquer is bare and vulnerable — a wax or sealant locks in the finish. My comparison of the options is in which car wax is best.
How often should you polish a car?
As rarely as possible — polish when the paint needs it, protect so it doesn’t. Because every polishing session removes a little clear coat, I don’t put customer cars through correction on a schedule. Fix the defects once, properly, then maintain with careful washing and protection. Done that way, a single correction can hold for years; an occasional pass with an all-in-one keeps the gloss topped up in between.
Frequently asked questions
What’s the best car polish?
The mildest one that removes your defects. For moderate wash swirls that’s a medium paste like One Step Polish; for deep damage, Heavy Cut V.2 followed by a finishing polish. “Best” depends entirely on the state of your paint — aggressive paste on healthy lacquer is just wasted clear coat.
How do you polish a car for beginners?
Start with a dual-action polisher, a medium pad and a one-step paste. Wash, clay and dry the car, then work 40×40 cm sections with moderate pressure until the paste is worked through. Practise on the bonnet of an old panel first if you’re nervous — technique comes quickly.
How do you apply polish on a car by hand?
Hand polishing works for light jobs: a few drops on an applicator, firm circular motions on a small area, then buff the residue off with a microfibre. Be realistic though — hands can’t match a machine on real scratches; an all-in-one product is the sweet spot for hand work.
How do you polish and wax a car in the right order?
Polish first, degrease the residue off, then wax. The wax needs bare, clean lacquer to bond to. If you reverse the order, the polish simply removes your wax.
Does polishing remove scratches?
It removes any scratch that lives in the clear coat — swirls, wash marks, light scuffs. If a scratch has gone through to the colour or primer, no polish will fix it; that’s paint repair territory. My black paint scratch guide covers how to tell the difference.
Every compound in this guide is in our Paint Polishing range — the exact pastes I formulate, test and use on customer cars in my own studio.