A dirty car polish pad is the most common reason a correction looks worse than it should — and it is the cheapest problem in detailing to fix. Once the foam fills with spent compound, dried binders and paint residue, it stops presenting fresh abrasive to the panel: it glazes over, drags, generates heat and starts pushing trapped particles across the lacquer. You can blame the compound, blame the machine, buy a stronger paste. The pad was the problem.
In this guideWhat a clogged pad does to your paintThe symptoms, and what they really meanPrime the pad before the first passCleaning on the flyWashing pads after the jobWhy fabric softener wrecks pads and microfibreWhen a pad is finishedFAQ
What a clogged car polish pad actually does to your paint
Three things, in this order: it stops cutting, it starts heating, and then it starts marking. Understanding that sequence is what turns pad care from a chore into the step you never skip.
Polishing works because open foam cells keep bringing fresh abrasive to the lacquer and carrying the removed material away. Fill those cells with spent paste and the face goes slick and hard — a glazed pad rides on its own residue. That’s the moment people decide their compound “isn’t strong enough”.
Next comes heat, because foam that can’t glide turns your machine’s energy into friction rather than abrasion. Then the expensive stage: a saturated face holds hardened lumps of compound and flakes of removed clear coat, and those get dragged across the panel. That’s how a correction ends up adding its own fine marring — you didn’t polish the paint, you sanded it with your own debris.
The symptoms, and what they really mean
Every one of these gets blamed on the compound at least once a week somewhere in the country. Check the foam before you change anything else.
| What you see | What’s actually happening | Fix |
|---|---|---|
| Correction has slowed to nothing | The face is glazed and no fresh abrasive is reaching the paint | Clean the pad or fit a spare — don’t reach for a stronger paste |
| The machine drags and the panel gets hot | Clogged foam can’t glide, so energy becomes friction | Stop, let the panel cool, clean the pad, prime it before restarting |
| Fine new marring after a pass | Hardened compound and removed clear coat trapped in the face | Fresh pad, then refine the area with a finishing polish |
| Residue that won’t wipe off cleanly | Product build-up in the pad, usually from using too much paste | Clean the pad, then use noticeably less compound per section |
| Haze after a finishing stage | Coarser abrasive left in a pad that was previously used for cutting | Keep pads dedicated to one grade of compound, permanently |
That last row deserves its own sentence: never run a cutting compound and a finishing polish through the same foam. Whatever you wash out, some coarser abrasive stays behind — and it shows up on the one stage where the finish is meant to be flawless.
Prime the pad before the first pass
A dry pad’s first pass is its harshest — priming the foam gives you glide from the start and keeps temperatures under control. It also stops the pad drinking half your compound before it does any work.
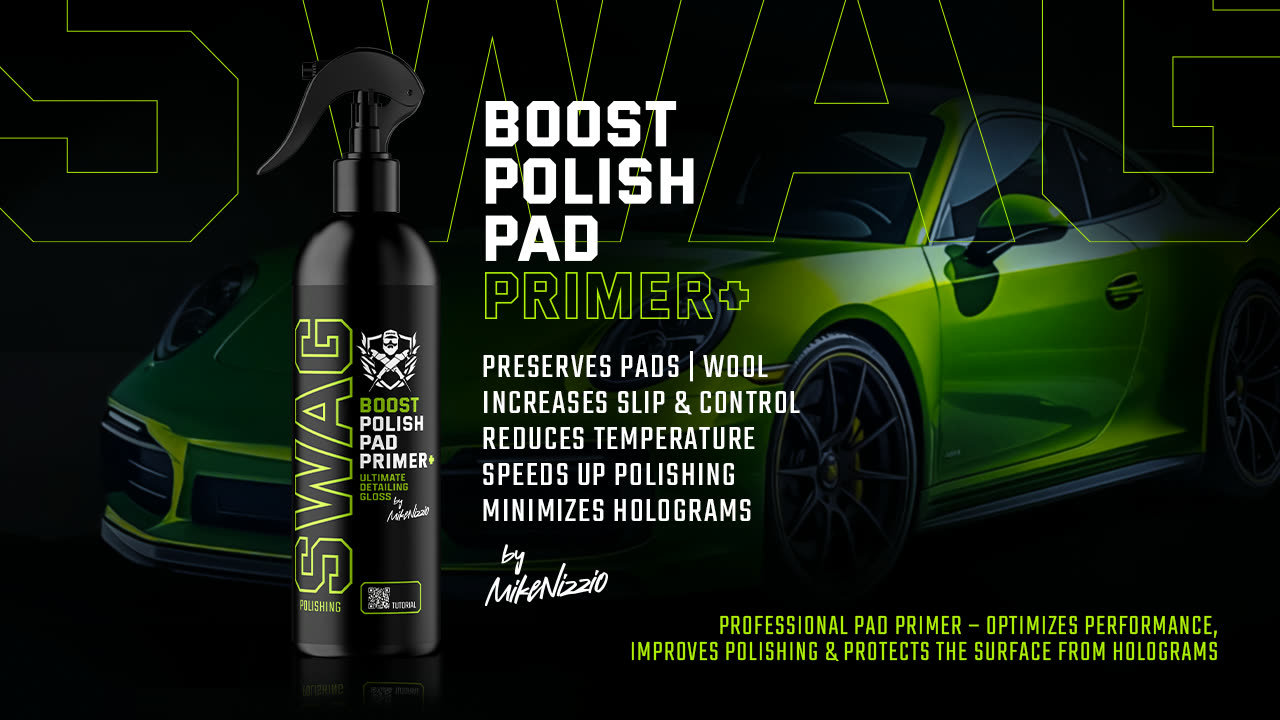
BOOST POLISH PAD PRIMER+ exists for exactly this. A light, even application across the working face — follow the label, and resist the urge to soak it, because a waterlogged pad cuts as badly as a clogged one. Spread it at low speed before you add the paste and the difference on the first section is obvious. It earns its keep mid-job too: when a freshly cleaned pad feels stiff, a touch of primer brings the glide back rather than forcing you onto a spare.
Cleaning on the fly: the habit that changes everything
Clear the face after every section, not every panel — that single habit does more for a finish than upgrading anything you own. It takes seconds and it keeps the pad performing like it did on the first pass.
Three methods, all fine. Hold a clean, dry microfibre against the face while the machine spins slowly and the towel lifts the spent paste straight out. Or work a stiff pad brush across the foam with the machine running. Or, if you have compressed air, blow the face out from the centre outwards. Keep your fingers clear of the edge whichever you choose.
Beyond that, have enough pads to rotate. Swapping as each one loads up means every panel gets a face that is genuinely cutting. Professionals don’t own a stack of pads because they enjoy buying foam — they own them because a fresh pad is the fastest way to get the cut back.
Washing pads properly after the job
Wash pads the same day, before the compound in them dries solid. Once the binders have set hard inside the cells, you rarely get full performance out of that foam again.
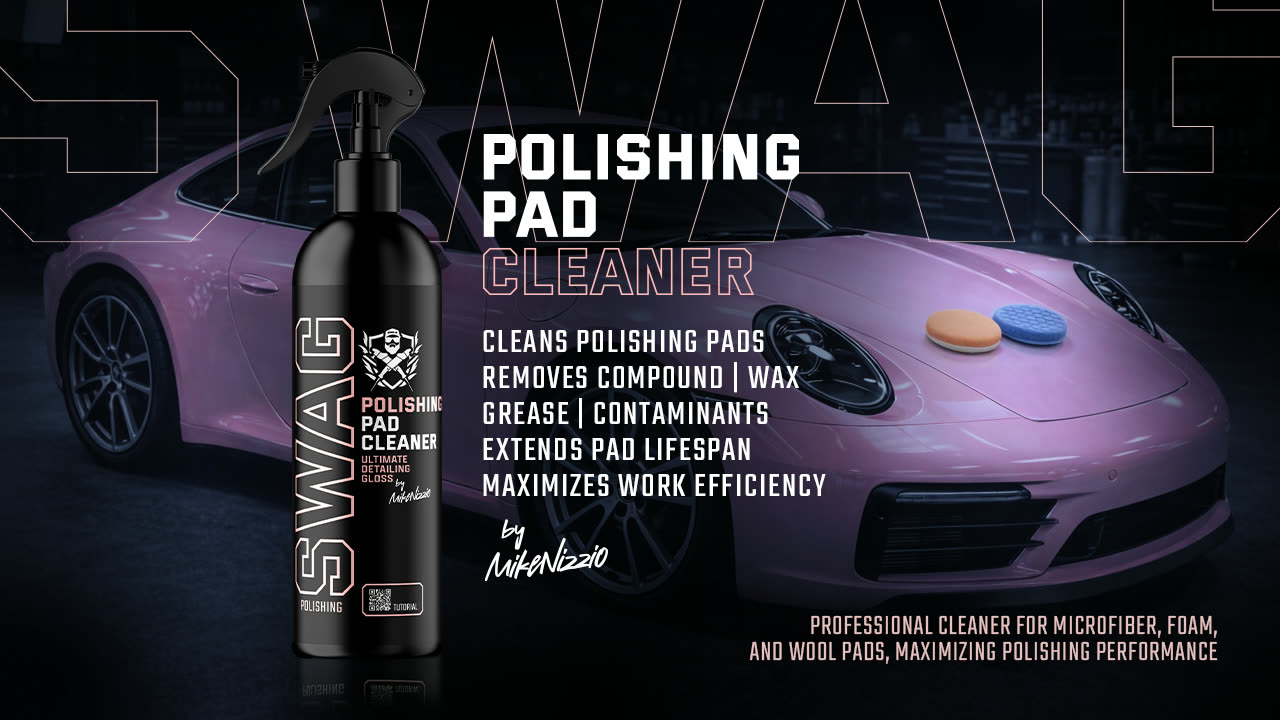
- Soak the face in warm — not hot — water with POLISHING PAD CLEANER at the dilution on the label, long enough to soften the residue rather than attacking it straight away.
- Agitate gently — squeeze the foam repeatedly under water, or work a soft brush over the face. Don’t scrub the edges; that’s where foam tears first.
- Rinse until the water runs clear. Leftover cleaner interferes with the next polishing stage, so keep going longer than feels necessary.
- Squeeze, never wring. Twisting a wet pad is the classic way to separate foam from backing — press the water out between your palms instead.
- Air dry at room temperature, out of direct sun and nowhere near a radiator, because heat is what makes the backing adhesive let go. Stand them on edge or face up so air reaches the working surface.
Store them dry, flat and out of sunlight. Damp pads in a sealed box come out smelling like a canal and take contamination straight back onto the paint.
Why fabric softener wrecks pads and microfibre
Never let fabric softener near a polishing pad or a detailing towel — it works by coating fibres in a slippery, water-repellent film, which is the exact opposite of what either product is for.
On microfibre the damage is immediate. Split fibres work by capillary action, and a softener film blocks it: the towel stops absorbing, starts pushing water around instead of lifting it, and smears everything it touches. People bin perfectly good towels every year believing they’ve worn out, when all they did was share a wash with the household laundry.
On foam it’s worse, because the residue transfers to the paint. A softened pad puts a slick contaminant into your polishing stage — smearing, unpredictable cut, and a panel that won’t take protection properly afterwards. Before a wax or a coating, that’s an adhesion problem, not a cosmetic one.
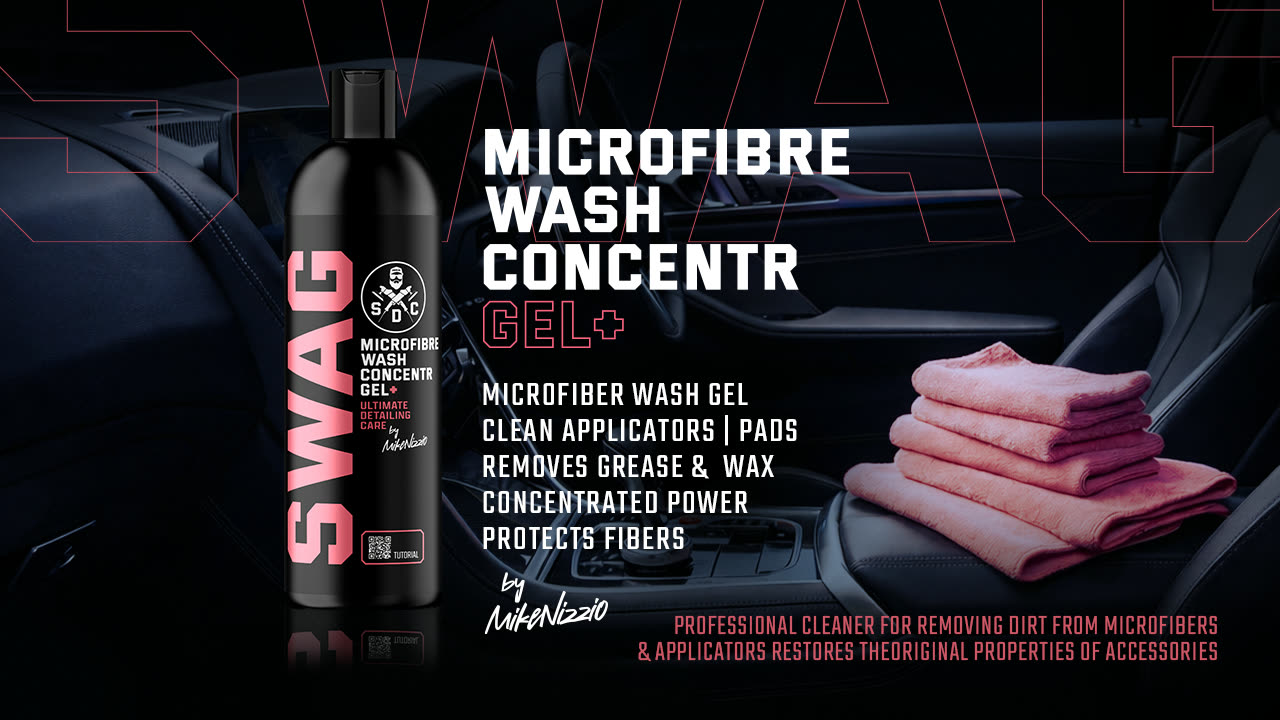
So: no softener, no dryer sheets, no bleach, and never in with clothes that shed lint. Use a dedicated product like MICROFIBRE WASH CONCENTR GEL+ from our microfibre and pad washing section — built to strip grease and residue out of towels, applicators and pads without leaving anything behind.
When a pad is finished
Retire a pad when the foam no longer springs back, when the face has torn, or when the backing starts to lift. Compressed foam that stays flat has lost the cell structure that does the cutting, a torn edge flicks debris across a panel, and a delaminating backing is a hazard at speed. Squeezing one more car out of a dying pad costs more in finish quality than a replacement does — check them in daylight before every job, not after you’ve spotted a problem on the paint.
Frequently asked questions
How often should you clean a polishing pad during a job?
After every worked section. It takes seconds with a towel or brush against the spinning face and keeps the cut consistent from the first panel to the last. If you can see paste building up around the edge of the foam, you’ve left it too long.
Can you wash polishing pads in a washing machine?
I don’t, and I’d advise against it. The agitation stresses the glue line between foam and backing, and machine detergents are the wrong chemistry for what’s in a spent pad. Hand washing with a dedicated pad cleaner is gentler and faster than it sounds.
How many pads do I need for one car?
More than one per stage. A few for your cutting grade and a couple for finishing, so you can rotate as they load up rather than fighting a saturated face for the last three panels. Buy pads before you buy a second compound.
Why does my compound smear instead of breaking down?
Usually too much product on a pad that’s already loaded. Compound works as a thin film against clean foam; pile more on top of yesterday’s residue and it slides rather than abrades. Clean the pad, use less paste, and see whether the bottle was ever the problem — my compound guide covers choosing the grade.
Pad cleaner, primer and microfibre wash — the unglamorous half of a good finish — are in our Polishing range, formulated and tested in my own studio.