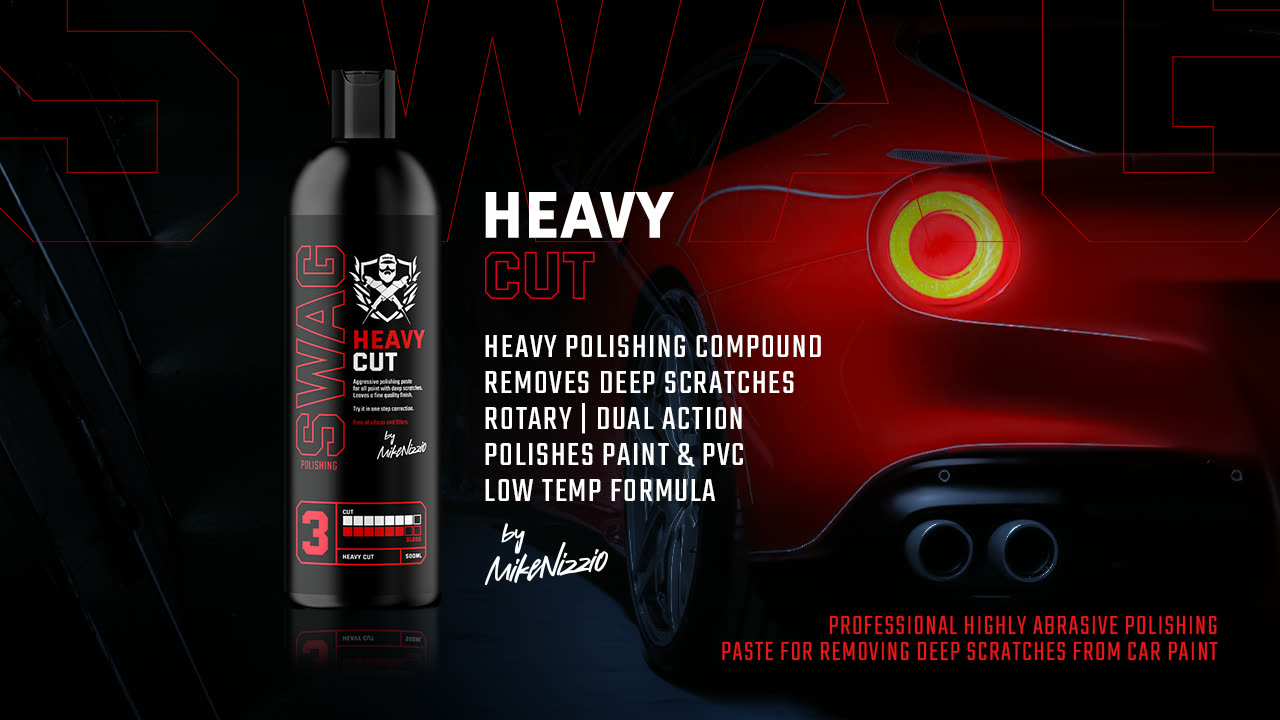
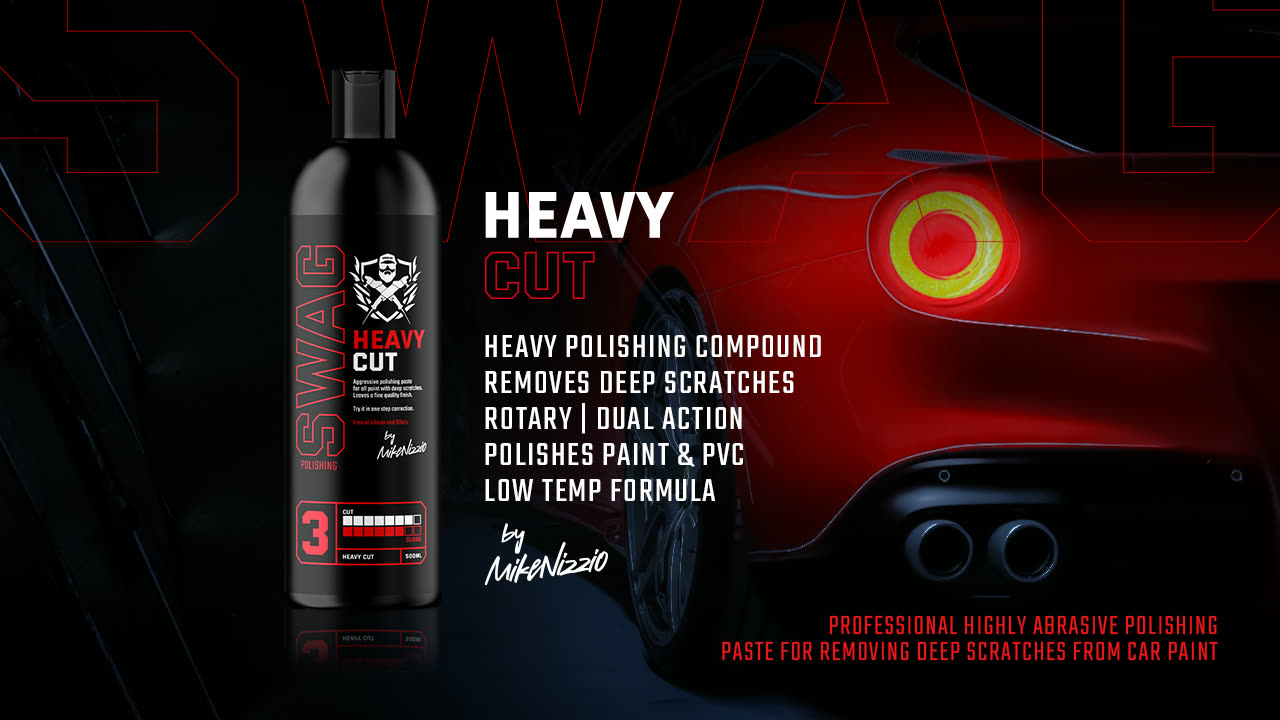
Which car polish is best? The mildest one that removes your defects — because “best” is defined by the state of your paint, not by how much cut a bottle claims. For a normal daily driver that means One Step Polish. Heavy Cut is a repair tool for genuinely damaged paint and always needs a finishing stage behind it. Perfect Finish is the gloss stage, and on dark paint it’s the one that makes people stare.
In this guideWhich car polish is best?The three grades comparedHeavy Cut: when you genuinely need itOne Step Polish: what most cars needPerfect Finish: the gloss stageNever skip the test spotThe pad matters as much as the pasteIf you’re only buying onceFAQ
Which car polish is best?
There is no single best car polish — there is only the right grade for the defects in front of you. Every abrasive paste works by removing clear coat, so choosing a stronger compound than you need isn’t “being thorough”, it’s spending paint you’ll never get back.
Our range is deliberately three grades rather than a wall of near-identical bottles: an aggressive cut, a medium all-rounder and an ultra-fine finisher. Once you know what separates them, choosing takes seconds — and a test spot confirms it before you commit to a whole car.
Heavy Cut vs One Step vs Perfect Finish: the three grades compared
This is the table I keep pinned up in the unit — read it left to right and the answer usually picks itself.
| Compound | What it corrects | When to use it | Finish it leaves | Follow-up |
|---|---|---|---|---|
| HEAVY CUT V.2 Heavy abrasive cut |
Deep scratches, heavy oxidation, etching and dullness that milder grades won’t touch | Genuinely damaged or long-neglected paint; a used car nobody looked after | Corrected but not final — can leave fine haze, especially on soft dark paint | Always refine with a finishing polish |
| ONE STEP POLISH Medium abrasive grade |
Wash swirls, light-to-moderate scratches, general dullness | The default for a normal daily driver — correction and gloss in one stage | High gloss, ready to protect on most paints | Usually none — degrease and protect |
| PERFECT FINISH V.2 Ultra delicate |
Holograms, machine haze, very fine marks — plus maximum gloss | After a cutting stage; on dark and metallic paint; light refresh on a well-kept car | The deepest, cleanest gloss of the three | None — this is the final stage |
Read the last column again, because it’s where most home corrections go wrong: Heavy Cut on its own is an unfinished job. It removes the damage and leaves its own signature behind, and unless you refine that away you’ve traded scratches for haze.
Heavy Cut: when you genuinely need it
Reach for the heavy grade when the defects are deep enough that a medium paste has already failed on a test spot — not before. That’s the honest trigger. Deep random scratches, serious oxidation on older paint, etching that chemistry couldn’t shift, or refining sanding marks after body repair.
Working with an aggressive paste changes your technique too. Keep the machine speed sensible — the abrasive does the work, not the revs — and stay off panel edges and body lines, where there’s less material and lacquer burns through first. Check progress often rather than committing to one long, hot pass.
Here’s a full heavy correction stage, start to finish:
One Step Polish: the grade most cars actually need
If your car has ordinary wash swirls and looks a bit flat, this is your answer — and you can stop reading here. The overwhelming majority of cars I correct never see a cutting compound at all.
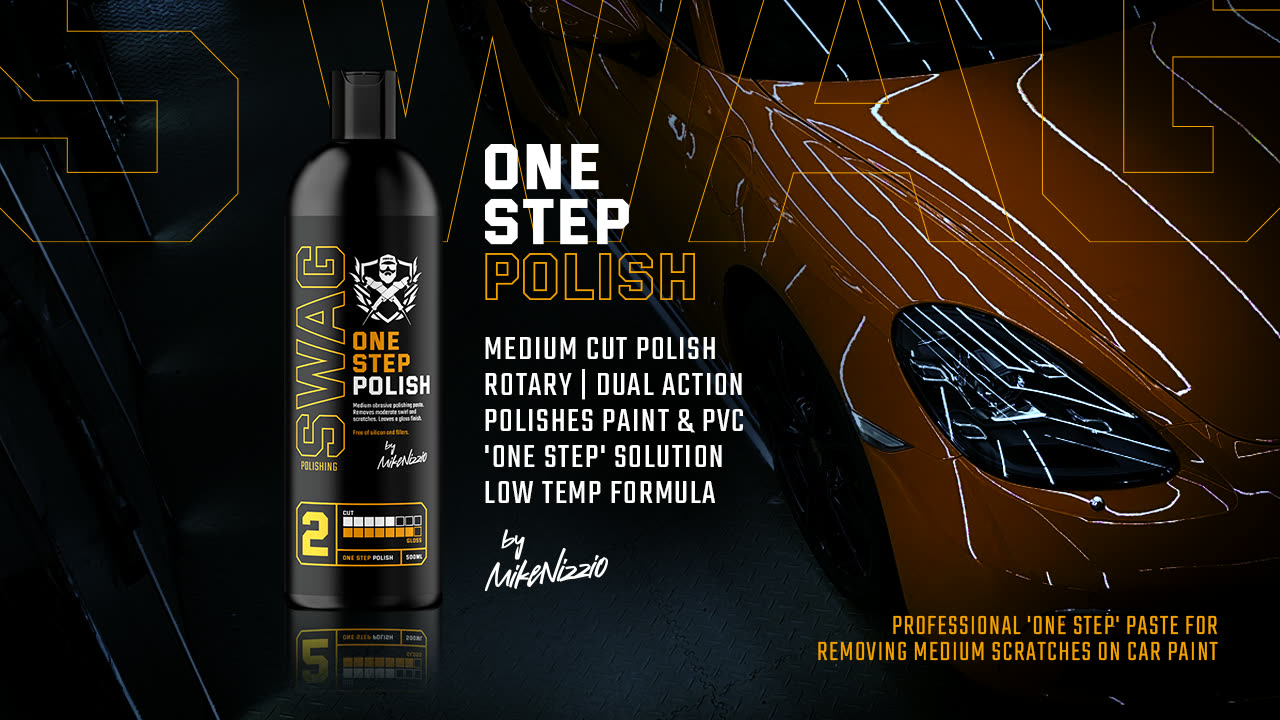
A medium paste that finishes down cleanly is the sweet spot for anyone working on their own car. You get correction and gloss from a single stage, which halves your time and — more importantly — halves the clear coat you spend. It also runs cool and works efficiently, which is exactly what you want when you’re still building confidence with a machine.
Pair it with a medium pad and you’ve got a combination that handles most defects a hand-washed car will ever collect. If you’ve never done this before, my machine polishing guide for first-timers walks through the physical technique step by step.
Perfect Finish: the stage that makes dark paint look wet
An ultra-delicate polish removes almost nothing and gives back almost everything — it’s the difference between “corrected” and “finished”.
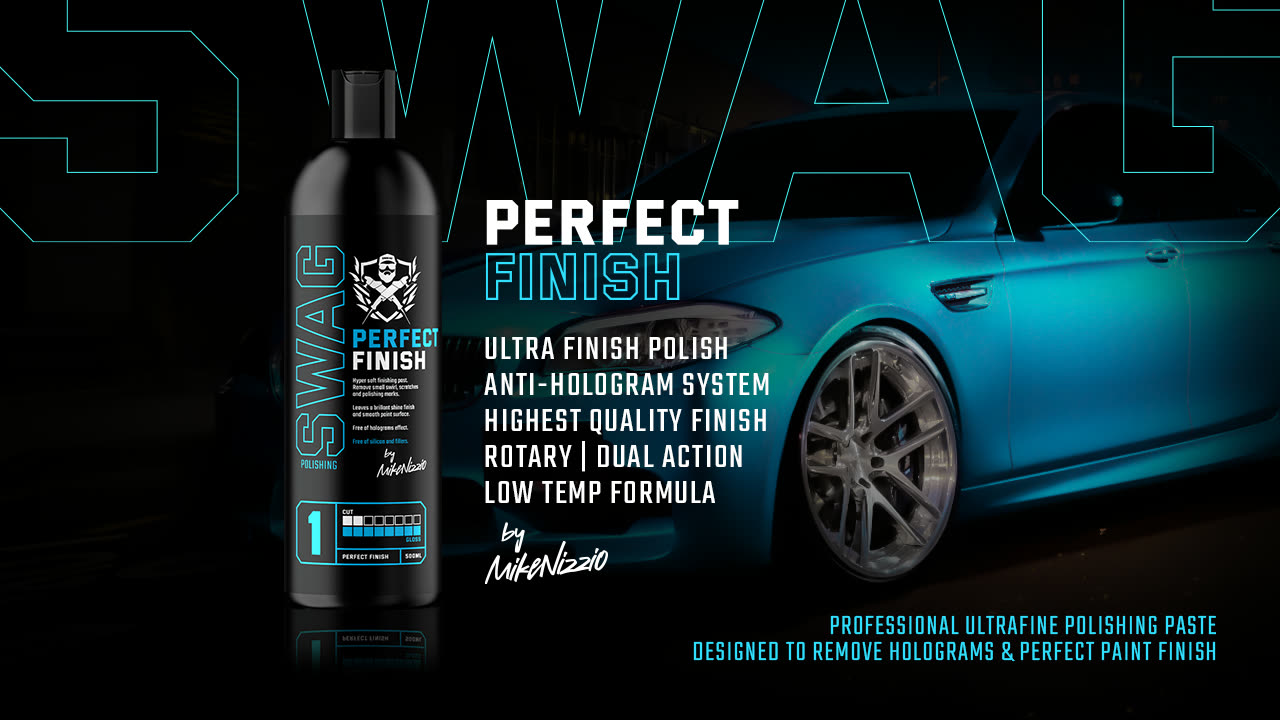
Two jobs, mainly. First, refining after a cutting stage — clearing the haze Heavy Cut leaves behind so the finish is genuinely clean rather than merely defect-free. Second, removing holograms, which is what a bodyshop or a cheap valet with a rotary machine typically leaves you with: those hazy shimmering bands that only show up in direct sun.
It also earns its place on black, dark blue and metallic paint, where every micro-mark scatters light and the difference between a good finish and a great one is entirely down to this last stage. And because it’s so mild, it’s the grade I’d use for an occasional gloss refresh on a well-kept car — see how often you should polish a car for where that fits in the year.
Never skip the test spot
The rule that governs everything above: always start with the least aggressive combination that works. A test spot is how you find out what that is, on this car, on this panel, in about fifteen minutes.
- Pick a representative area — a door or the bonnet with typical defects, not the worst corner on the car.
- Mask off a section of about 40×40 cm with tape, so you can compare corrected paint against untouched paint side by side.
- Start with your softest pad and mildest polish. Yes, even if the paint looks rough. You are looking for the floor, not the ceiling.
- Work it properly — slow, overlapping passes until the paste is worked through. Judging a half-worked section tells you nothing.
- Degrease and inspect. Polishing oils flatter the surface and hide what’s left, so wipe the panel down before you decide — my panel wipe guide covers exactly this. Then look at it with a strong light held at a low angle.
- Change one variable at a time. If defects remain, step the pad up first — a firmer pad with the same polish is often enough and it’s far more controllable than jumping a grade.
- Only then step up the compound. And if you do, plan a refining stage on top of it.
Whatever combination clears the test spot is your recipe for the whole car. Re-test if you move onto something noticeably different, though — a plastic bumper and a steel wing rarely behave the same way.
The pad matters as much as the paste
Compound and pad are one system — the same bottle behaves like two different products on a soft pad and a firm one. That’s why “which polish is best for car paint” is only half a question.
Paint hardness varies wildly between manufacturers. Hard paint shrugs off a combination that would be plenty on a softer finish; soft paint marrs so readily it often wants a finishing stage even after a mild polish. The test spot tells you which you’ve got.
One thing people underestimate: a clogged pad stops cutting and starts smearing, so a saturated pad can convince you the compound has failed when the real problem is the foam. Clean or swap pads as you work — I’ve written about that in why dirty polishing pads ruin your finish.
If you’re only buying once
One bottle: One Step Polish. Doing a full correction on a used car: all three, plus a degreaser. That’s the honest split.
If you’re buying the full set anyway, the PRO POLISHING SET puts Final Inspect, Heavy Cut, One Step Polish and Perfect Finish together with accessories — the same four things that sit on my bench for every correction, because the degreaser is what lets you see whether the compound actually did its job.
And if the paint doesn’t need correcting at all, don’t buy a compound. An all-in-one product like ALL IN ONE AIO V.2 polishes lightly, glazes and protects in one pass — perfect for a tidy car, useless for real scratches. Knowing which situation you’re in is worth more than any bottle.
Frequently asked questions
What’s the best car polish for a beginner?
A medium one-step paste on a dual-action machine. It corrects normal swirls, finishes down to gloss without a second stage, and it’s forgiving if your technique isn’t perfect yet. Starting on a heavy compound is how beginners get into trouble.
Do I need all three compounds?
Only if you’re correcting neglected paint. A well-kept car needs one medium polish and nothing else. Buy the heavy grade when a test spot proves the medium one can’t cope — and buy the finisher alongside it, never on its own.
Can I use Heavy Cut on its own?
You can finish a car with it, but you shouldn’t. An aggressive abrasive leaves its own fine haze behind, most visibly on dark paint. Refining afterwards with an ultra-fine polish is what turns a corrected panel into a finished one.
Which polish is best for black paint?
Whatever your test spot says — but plan on finishing with the ultra-fine grade regardless. Black hides nothing, so any haze left by a cutting stage shows up in the first patch of sunlight. My black paint guide goes deeper on this.
What’s the difference between a compound and a polish?
In practice it’s a spectrum of abrasive grade, not two different things. “Compound” usually means the coarser end that removes material fast; “polish” the finer end that refines and adds gloss. Both work the same way — by removing clear coat.
All three grades — and the degreaser that tells you the truth about your work — live in our Paint Polishing range, formulated, tested and produced in my own studio.