How to polish chrome on a car, in short: wash and degrease it first, then work a metal polish over small sections with light pressure until the black oxide stops coming off on the cloth — and seal it afterwards. Chrome and stainless are bare metal, not clear-coated paint, so they respond differently and they re-oxidise the moment you leave them naked. Getting the sequence right matters more than the effort you put in.
In this guideWhy metal isn’t paintIdentify what you’re polishing firstHow to polish chrome on a car, step by stepExhaust tips: what comes back, what doesn’tSurface-by-surface quick referenceProtect it or it goes dull againMistakes I see most oftenFAQ
Why metal isn’t paint — and why your paint compound disappoints on it
On paint you are levelling a soft clear coat; on chrome and stainless you are lifting an oxide layer off a hard, bare surface. Two different problems, two different chemistries.
Paint compounds are formulated around lubricating oils and abrasives sized for lacquer. Put one on a dull exhaust tip and you’ll get a bit of gloss and a lot of frustration, because it isn’t designed to dissolve and carry away metal oxide. A metal polish is: it pairs finer abrasives with a carrier that chemically attacks the tarnish, which is why the cloth turns black. That black smear is the oxidation coming off. If your cloth stays clean, the product isn’t working.
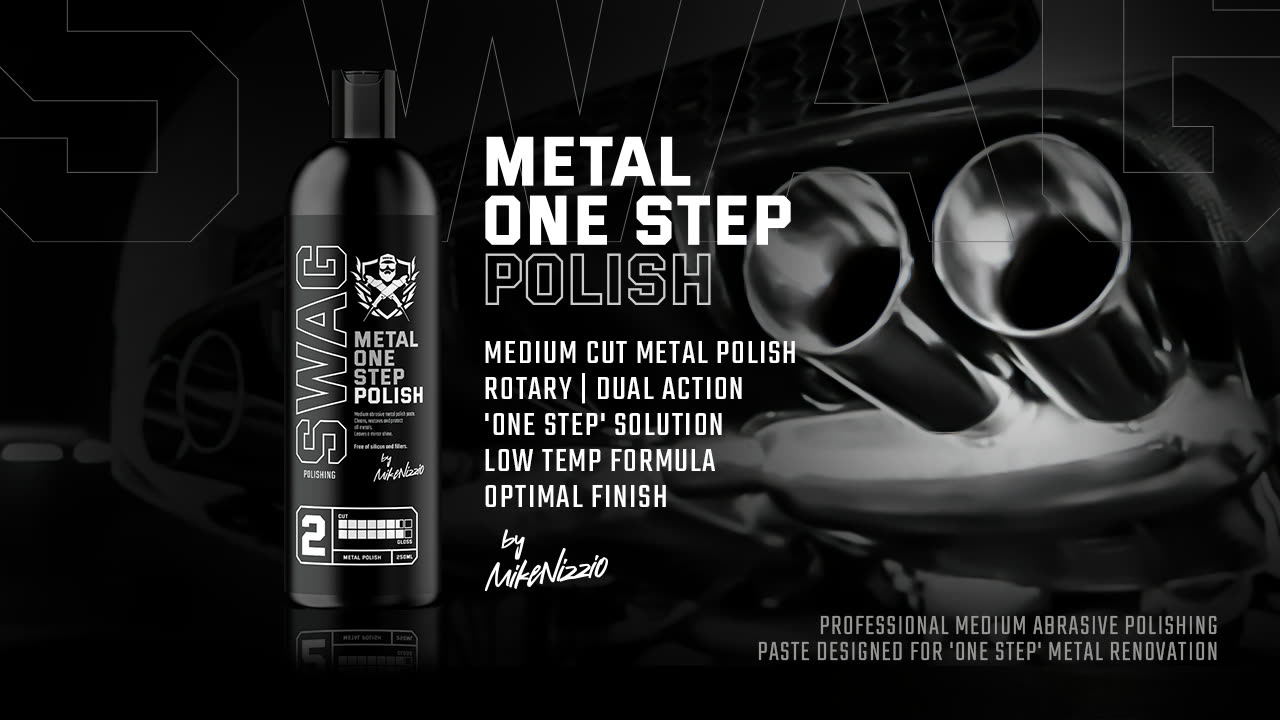
This is what METAL ONE STEP POLISH is built for — a one-step metal paste with a low-temperature formula, which matters a great deal on thin chrome plate where heat build-up is the fastest way to ruin the surface.
Identify what you’re polishing before you touch it
Half the ruined trim I’m asked to rescue was never metal in the first place. Before you learn how to polish chrome car trim, learn to tell these apart:
- Real chrome plating — bumper trim on older cars, classic bright work, some grilles. Hard, mirror-bright, cold to the touch. Polishes beautifully, but the plating is thin, so aggression is your enemy.
- Chrome-effect plastic — most modern “chrome” window surrounds, badges and grille inserts. Tap it: plastic sounds dead and warms under your hand. The metallic layer is vanishingly thin and an abrasive paste will cut straight through it to grey plastic. Clean these, don’t polish them.
- Polished stainless — the majority of exhaust tips. Tough, forgiving, takes a genuine mirror finish.
- Anodised or coated aluminium — roof rails, some trim strips. The colour lives in a surface layer; polishing removes it unevenly and leaves patches you cannot fix.
When in doubt, test in a spot nobody sees — the underside of a trim strip, the back edge of a tip. Thirty seconds of testing saves expensive parts.
How to polish chrome on a car, step by step
The order is always clean, degrease, polish in small sections, wipe, then protect. Here’s the studio sequence:
- Wash the area properly first. Any road grit still sitting on the metal becomes a scratching tool the second you press a cloth onto it. On exhaust tips I use a diluted all-purpose cleaner such as APC CONCENTR. GEL+ at the label ratio, with a soft detail brush to get into the lip.
- Let it cool and dry completely. Never polish a warm exhaust — the paste flashes off, you get streaking and grabbing, and it’s a burn waiting to happen. Cool metal, in the shade.
- Degrease. Exhaust tips carry an oily soot film that stops the polish contacting the metal. Wipe them down first, or you’ll spend ten minutes polishing grease.
- Small amount of paste, small area. A pea of product on a microfibre applicator or folded cloth, working an area the size of your palm. More product just makes mess; more area just means it dries before you buff it.
- Work it with light pressure until the residue darkens. Straight lines on brushed finishes, small circles on mirror ones. Let the chemistry do the lifting — you are not sanding.
- Buff off with a clean, dry microfibre before it dries hard. Turn to a fresh face of the towel each time; a black-loaded cloth just puts the oxide back.
- Repeat rather than press harder. Two gentle rounds beat one aggressive one every single time, especially on plating.
- By machine: a small 30–50 mm pad on a mini polisher works well on tips, but keep the speed low, keep it moving and check the temperature with your hand often. Heat is what kills chrome.
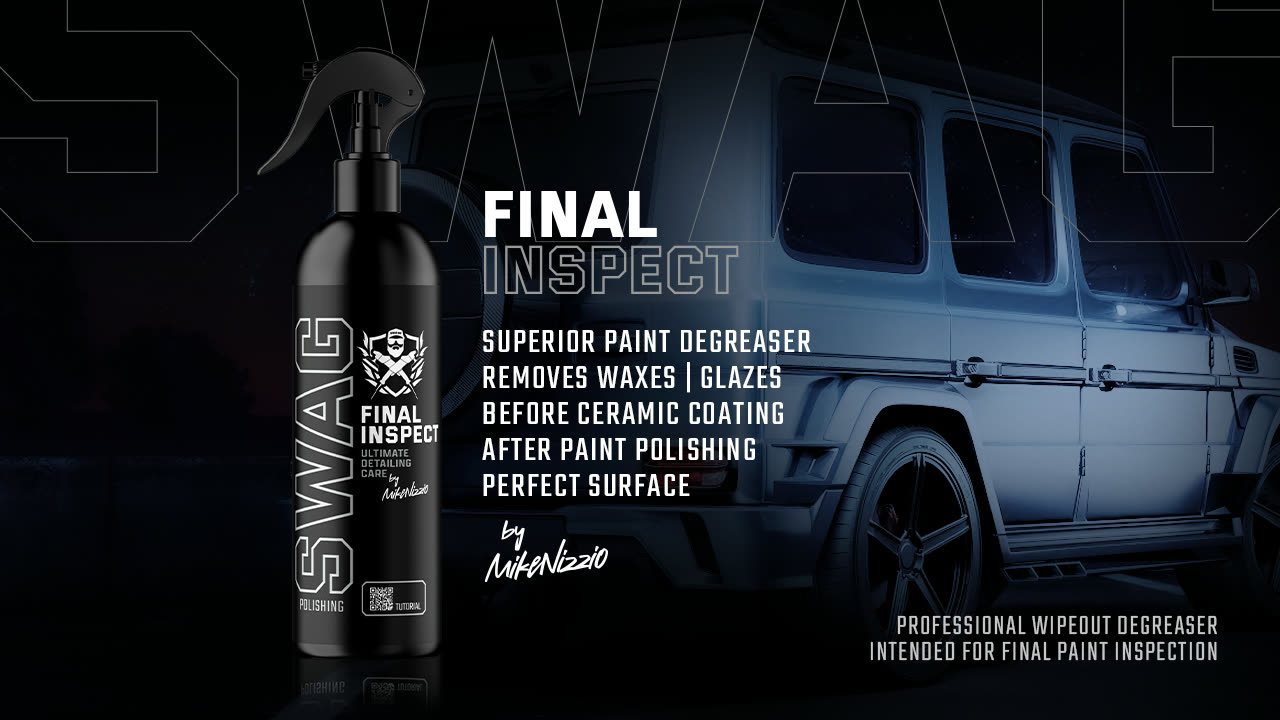
That last wipe-down is not optional. Metal polish leaves oily residue that flatters the finish and blocks any protection from bonding. FINAL INSPECT V.2 strips it and leaves a streak-free surface, so what you see is the real result. Here’s how I use it:
Exhaust tips: what comes back, and what honestly doesn’t
Soot, water spotting and light tarnish come off easily. Deep heat discolouration usually does not — and anyone who promises otherwise is selling you something.
The blue, gold and purple banding you see near the outlet isn’t dirt sitting on the surface. It’s an oxide layer that heat has grown into the steel itself. A metal polish will lighten the mildest version of it and take away everything sitting on top, which is often enough to make a tip look transformed. But on a car driven hard for years, that colour has gone deeper than any car-safe paste can reach.
The inside of the tip is a separate job again. Baked-on carbon is far more stubborn than anything on the outside — expect to improve it with soaking and agitation rather than make it look new. Better you know that than scrub for an hour thinking you did something wrong.
Surface-by-surface quick reference
| Surface | Usual problem | Approach | Watch out for |
|---|---|---|---|
| Chrome plating | Tarnish, water spots, light pitting | Metal polish, light pressure, by hand | Thin plating — pitting means it has already broken through |
| Stainless exhaust tip | Soot film, heat tint, dullness | Degrease, then metal polish; machine on low speed is fine | Heat colour may be permanent; never work it warm |
| Chrome-effect plastic trim | Looks cloudy or spotted | Clean and protect only — no abrasive paste | Polishing wears through to grey plastic; unrepairable |
| Anodised aluminium | Faded, chalky patches | Gentle clean; accept the patina | Abrasives strip the anodising unevenly |
| Painted or clear-coated trim | Swirls, dullness | Treat as paint — see which compound to use | Metal polish is the wrong tool here |
Protect it, or it goes dull again
Freshly polished metal is chemically bare, and bare metal starts re-oxidising immediately. This is the step almost everybody skips, and it’s the reason people think metal polish “doesn’t last”.
Once you’ve degreased, put a protective layer on. A spray ceramic like CERAMIC COAT RELOADER UV is the easy option — it’s made for wheels, paint and glass, so it handles the hot, dirty end of the car and gives the metal something hydrophobic to hide behind. Water and road film then sit on the coating instead of etching the metal.
Be realistic about how long it holds at the outlet itself: that area gets genuinely hot and takes the full blast of exhaust gas, so protection there wears faster than on the body of the tip. Refresh it more often than you would on paint.
Mistakes I see most often
Almost every ruined piece of brightwork I get shown comes from one of four things.
- Using paint compound on bare metal and expecting the same result. It’s the wrong abrasive system for the job — you’ll get shine, not decontamination.
- Wire wool, scouring pads or a kitchen abrasive. They “work” because they’re removing the surface. On chrome, that damage is permanent.
- Polishing dirty metal. Grit under the cloth turns your polish into sandpaper.
- Letting residue dry in the gaps. Metal polish that sets in a trim seam or on adjacent rubber leaves white lines that are a nuisance to remove. Mask the edges or wipe as you go.
Frequently asked questions
Can I use car paint polish on chrome?
You can, and it won’t damage anything, but it will underperform. Paint compounds are engineered to level clear coat; they don’t lift metal oxide, so tarnish stays put. Use a dedicated metal polish and the difference is obvious within seconds — the cloth turns black.
How do I clean exhaust tips without polishing them?
Degrease and agitate. A diluted all-purpose cleaner and a soft brush lifts most of the soot film — that alone takes a tip from grim to presentable. Polishing is for the tarnish underneath.
Will polishing remove the blue heat stain from my exhaust tips?
Partly at best. Light heat tint often lifts along with the surface deposits, but deep blue or gold banding has grown into the steel and won’t polish out with anything safe to use on a car. Improve it, then protect it — don’t chase it.
How do I polish chrome car trim without damaging it?
Confirm it’s really metal first — most modern trim is chrome-effect plastic, and abrasive paste destroys it. If it is plated metal, work by hand with light pressure over small sections, and repeat gently rather than pressing hard.
How often should I polish chrome?
Rarely, and less often if you protect it. Like paint, polishing metal removes material — on plated surfaces that plating is finite. Seal it after the first proper polish and routine washing keeps it bright; the same logic as how often to polish a car.
Why did my chrome go patchy after polishing?
Usually it was never solid chrome — it was plating or anodising that has worn through where you pressed hardest. That damage can’t be polished back. It’s exactly why I test in a hidden spot before touching visible trim.
The paste I use for every job in this guide is in our Metal Polishing range — and if it’s paint rather than metal you’re working on, start in Paint Polishing instead.