If your paint still feels gritty after a wash, claying is the step you are missing — and the technique matters more than the product. A clay bar shears off contamination that has bonded to or embedded itself in the clear coat: overspray, industrial fallout, rail dust, tree sap residue and the general grit that a wash mitt slides straight over. Done properly it takes an hour and leaves paint that feels like glass. Done carelessly it puts marring into the finish that then needs machine polishing to remove. The difference between those two outcomes comes down to lubrication and pressure.
In this guideThe bag test: do you need it?What claying actually doesWhat you needThe method, step by stepLubrication is the whole gameWhere it fits in the processMistakes that cost paintFAQ
The bag test tells you in ten seconds
Wash and dry the car, put your hand inside a thin plastic bag, and glide your fingertips lightly over the paint. The bag amplifies texture your bare hand smooths over.
Glass-smooth means you do not need to clay. Anything that feels like fine sandpaper, or a scattering of tiny bumps, is bonded contamination — and no amount of washing will remove it, because it is stuck to the surface rather than sitting on it.
Check several places. Horizontal panels are almost always worse, because they collect everything that falls. The bonnet, roof and boot lid usually need it long before the doors do, and the lower rear quarters are a close third.
What claying actually does
Clay does not dissolve contamination — it grabs it and shears it off at the surface. That is a mechanical action, which is exactly why lubricant matters.
As the bar glides over a lubricated panel, particles standing proud of the clear coat catch in the clay and are pulled out, then get folded into the bar. This is also why you knead the clay regularly: you are burying the grit you have already collected so it cannot be dragged back across the paint.
Two things follow from this. First, clay works on what is on the paint, not what is in it — it will not touch scratches or swirls. Second, it removes any wax or sealant along with the contamination, so protection has to be reapplied afterwards. That is not a flaw; it is why claying comes before polishing and protecting.
What you need
- A clay bar — a fine or medium grade for most cars; aggressive grades are for genuinely bad paint and cause more marring
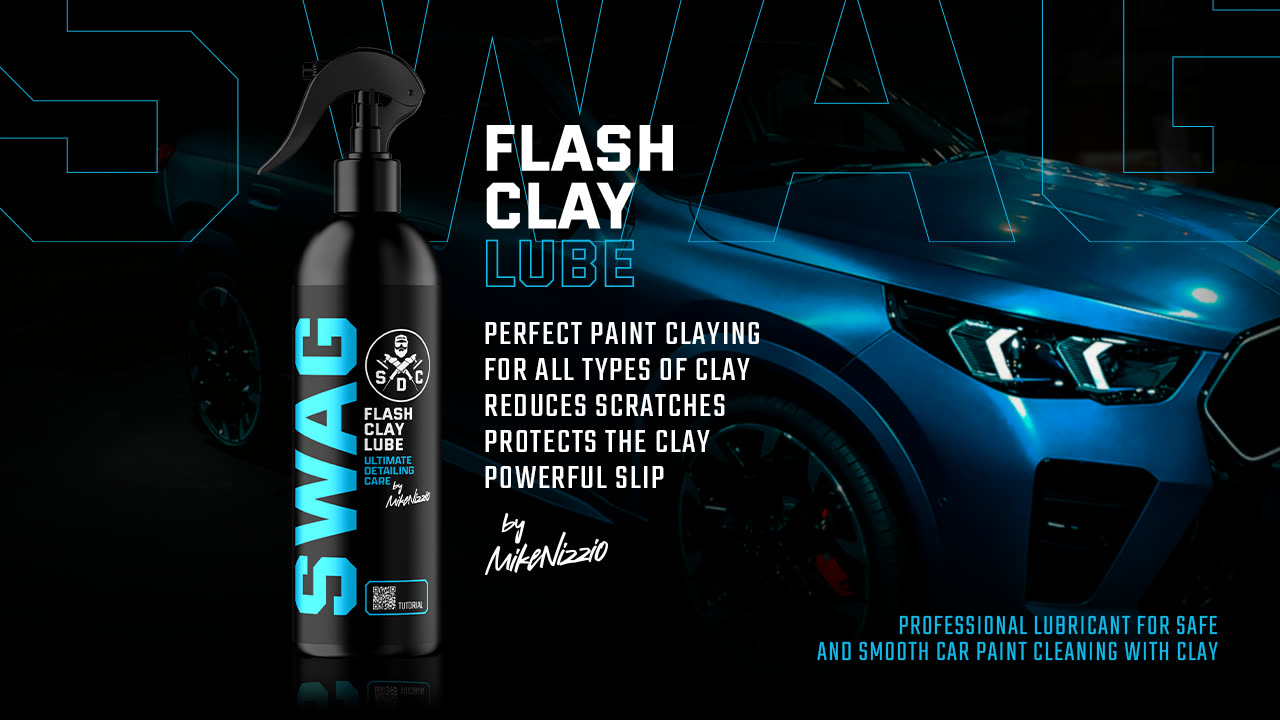
- Plenty of lubricant. A dedicated product such as Swag FLASH CLAY LUBE V.3 — more on this below
- Clean microfibre towels to remove residue as you go
- A properly washed car, decontaminated chemically first
- Shade and a cool panel. Claying in direct sun is how lube dries mid-pass
Buy more lubricant than you think you need. Running out halfway through the roof is the single most common way this job goes wrong, and improvising with a mist of water is the second.
The method
- Wash and chemically decontaminate first. Iron fallout and tar should come off with chemistry, not with clay — clay used on tar just fills the bar and ruins it. See iron fallout explained.
- Tear off a piece roughly a third of the bar, and keep the rest sealed. Working with a manageable piece means the rest survives if you drop one.
- Flatten it into a patty that covers your fingertips, so pressure spreads evenly rather than concentrating on a corner.
- Soak a small area — around a foot and a half square. Genuinely wet, not misted.
- Glide the clay in straight lines, back and forth, with almost no downward pressure. Let the clay do the work. You will feel it drag at first and then go silent — that is the section finished.
- Wipe the residue off with a clean microfibre before it dries.
- Knead and refold the clay every couple of sections so a fresh, clean face is always in contact with the paint.
- Move on, working panel by panel, top of the car downwards.
- Wash the car again, or at least wipe down with a panel wipe, to remove lube residue — covered in the panel wipe guide.
- Protect it. Bare paint stays bare until you do. How to wax a car picks it up from here.
Lubrication is the whole game
Clay on a dry or under-lubricated panel is an abrasive being dragged across your clear coat. This is the one point worth being blunt about.
The lubricant creates a film the bar floats on, so only the particles standing proud of the surface make contact. Take that film away and the entire face of the clay contacts the paint — and it is carrying every piece of grit it has already collected. That is how people end up with a hazed, marred bonnet and a job that now needs a machine polish.
Water on its own is not adequate; it has no slickness and evaporates too fast. Shampoo solution is a common improvisation and it is better than nothing, but a dedicated clay lube is engineered for glide and to keep contamination in suspension. Given how cheap lubricant is relative to a polishing job, it is a strange place to economise.
Practical rule: if the bar starts to grab, stop and add more lube. Grabbing is the warning before marring.
Where claying fits
It sits after washing and chemical decontamination, and before polishing and protection. Getting the order wrong wastes work.
| Stage | Removes | Why this order |
|---|---|---|
| Wash | Loose dirt and road film | Never clay a dirty car |
| Chemical decontamination | Iron fallout, tar | Saves the clay bar for what only it can do |
| Clay | Bonded particles, overspray | Leaves a truly smooth surface |
| Polish (if needed) | Swirls and defects | Needs smooth paint to work on |
| Protect | — | Claying strips old protection |
How often? Once or twice a year for most cars, and by feel rather than by calendar. Do the bag test — if it is smooth, leave it alone. Claying paint that does not need it is a small, needless risk.
The mistakes that actually cost you paint
- Not enough lubricant — the cause of nearly all clay marring
- Dropping the bar and carrying on. A dropped bar has picked up grit from the ground. Bin it. There is no rescuing it, and no piece of clay is worth a respray
- Pressing hard. Pressure does not remove more; it just increases contact
- Working in the sun, so lube dries mid-pass
- Claying over tar, which clogs the bar in seconds
- Circular motions, which make any marring far more visible than straight lines
- Forgetting to protect afterwards, leaving bare paint exposed
FAQ
Does a clay bar scratch paint?
Properly lubricated, on clean paint, it should not. Under-lubricated, or after being dropped, it certainly can. Marring from claying is fine and hazy rather than deep, and it polishes out — but that means an extra machine stage you did not plan for, which is why lube discipline matters.
Can I use a clay mitt or towel instead?
Yes, and they are faster and more forgiving on larger cars because they cover more area and cannot be ruined by being dropped in the same way. They tend to be slightly less precise on badly contaminated paint, but for a maintenance decontamination they are a sensible choice.
Do I have to polish after claying?
No. Claying and polishing solve different problems — claying removes contamination, polishing removes defects. If the paint looks good and only felt rough, clay, protect, and stop there. See how often you should polish a car.
Can I clay glass and wheels?
Yes to glass — it is very effective on a windscreen with bonded contamination, and it improves wiper performance noticeably. Wheels can be clayed too, with plenty of lube, though chemical decontamination usually does more there.
How do I know when a section is done?
By feel and by sound. The bar drags and you can hear it working at the start; when the section is clean it goes quiet and glides. If a spot keeps grabbing after several passes, it is probably tar or sap that needs a chemical rather than more clay.
Clay bars and lubricant live in Clay Bar Treatment, and the chemical stage sits in Decontamination.