A car interior deep clean is a sequence, not a shopping list: work from the top down, finish every dry job before you introduce a drop of liquid, and clean the glass last. Get that running order right and interior car detailing takes half the time and looks twice as good. Get it wrong and you spend the afternoon re-cleaning panels you had already done, chasing dust you knocked off the headlining onto a freshly wiped console.
In this guideThe order of workWhat to have ready1. Strip it out2. The dry stage3. Hard surfaces4. Seats, belts, soft trim5. Dress and protect6. Glass lastFAQ
The interior detailing order of work
Three rules govern the whole job: top down, dry before wet, glass last. Top down, because everything you disturb falls — detail the console before the vents and you have just re-dirtied the console. Dry before wet, because cleaner sprayed onto dusty plastic makes a slurry that smears into every grain and seam. Glass last, because every earlier stage puts something on the glass: overspray, dressing sling, fingerprints from moving the seats.
Here is the sequence, with each surface guide linked so I am not teaching the same thing twice.
| Stage | What you do | Why it sits here |
|---|---|---|
| 1. Strip out | Rubbish, personal items, child seats, mats out | Mats hide the worst of it |
| 2. Dry stage | Brush and vacuum, headlining to carpet | Dirt removed dry is dirt you never have to dissolve |
| 3. Hard surfaces | APC on plastics, vinyl, door cards, console | First wet stage — it drips onto surfaces still to do |
| 4. Textiles and leather | Seats, carpet, seat belts | Brushing fabric throws dust |
| 5. Dress and protect | Matte dressing, protection on plastics | Only ever onto a clean, dry surface |
| 6. Glass | Screens, side windows, mirror | Catches the overspray from stages 3 and 5 |
What to have ready before you open a bottle
The kit list is short: a vacuum with a crevice tool, two or three soft detailing brushes, a stack of clean microfibres, and four chemicals — an all purpose cleaner, a textile cleaner, an interior dressing and a glass cleaner. Colour-code the cloths: the one that wipes door shuts and pedals should never touch a screen.
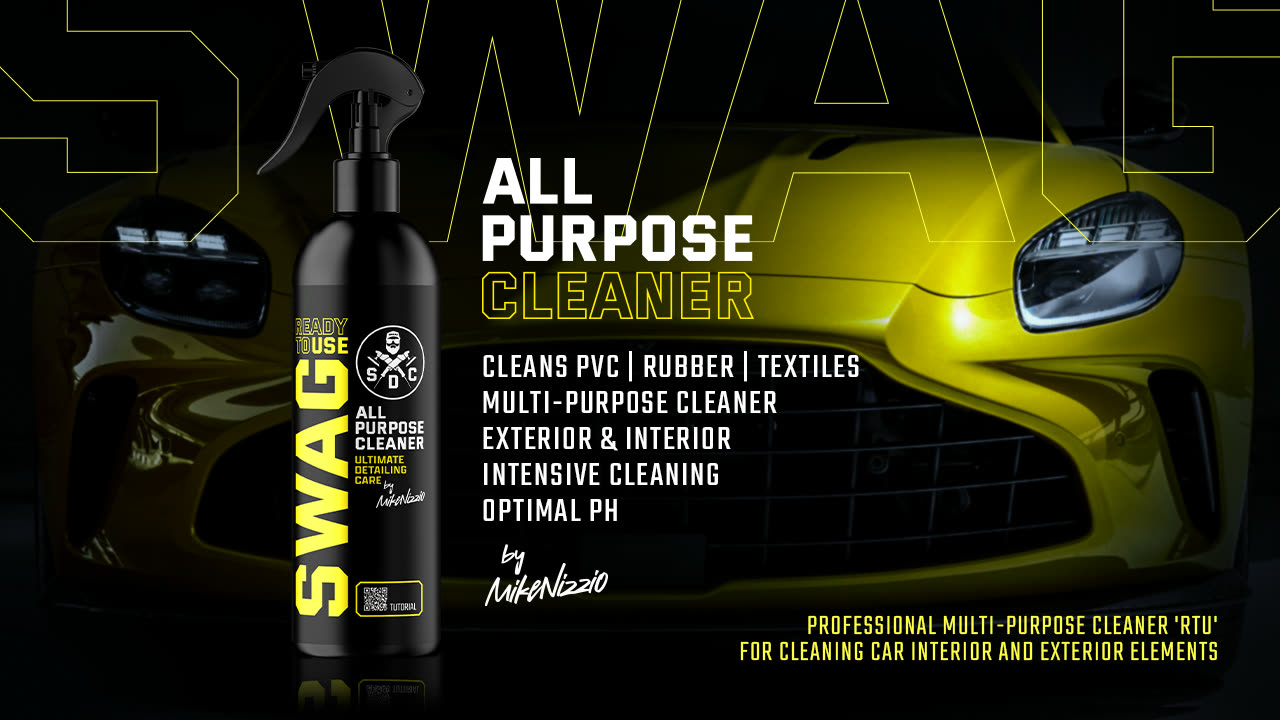
A ready-to-use, balanced-pH cleaner such as SWAG APC RTU covers plastics, vinyl, rubber and door cards without mixing anything. If you prefer to dilute your own, the ratios are in the APC dilution guide.
Step 1: strip the car out
Empty the car completely before you clean anything — boot, door pockets and glovebox included. Rubbish out, child seats out, boot floor lifted so you can see the spare wheel well. Take the floor mats out as well; they are cleaned separately and outside the car, which is the subject of cleaning car carpets and floor mats.
While they are out, feel the carpet underneath. Cool and clammy there means a moisture problem that cleaning will not solve — find out why before you add any more water to the car.
Step 2: the dry stage — brush and vacuum, top down
Do not spray anything during this stage. Work a soft brush and the vacuum nozzle together, headlining down to carpet. The brush lifts dust out of texture and seams; the vacuum takes it away before it resettles, so hold the nozzle just behind wherever the brush is working.
Order within the stage: headlining and visors, pillars, vents, dash top, steering column, door cards, console, seats, then carpets. Run the seats fully forward and fully back to reach the rails, and get the crevice tool down the sides of the seat base. Give the vents a proper minute — they hold more dust than anything else and blow it back at you the moment the fan goes on.
Step 3: hard surfaces, panel by panel
Spray the cloth or the brush, not the panel. That one change kills overspray onto glass and screens, keeps liquid out of switchgear and uses a fraction of the product. Mist the cloth, wipe a section, agitate stubborn texture with a soft brush, then follow straight away with a dry microfibre.
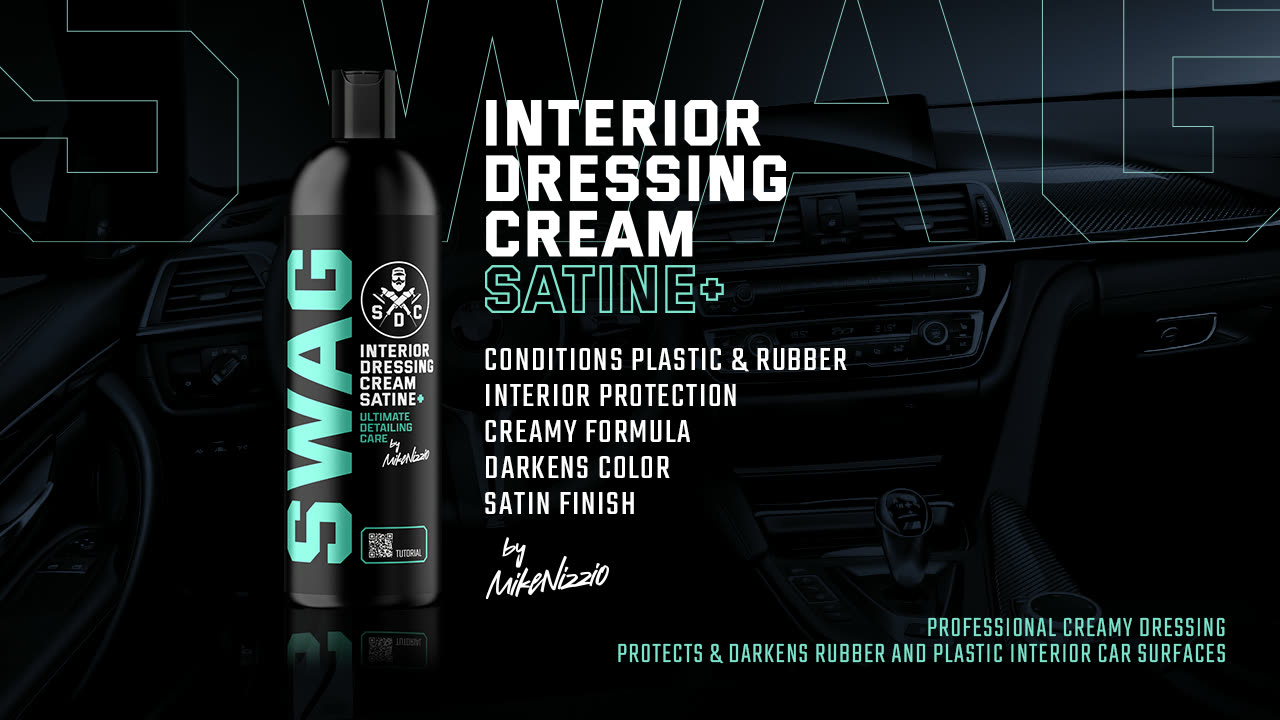
Keep the top-down order, and leave door shuts, sills and pedal areas to the end of the stage with a separate cloth. On a car that gets cleaned regularly you can compress all this with something that cleans and maintains in one pass, such as SWAG Basic Interior Dressing Detailer Matte. On a neglected car, clean with APC first — a dressing over grime just seals the grime in. Screens and gloss black trim get nothing but a damp microfibre and a dry one behind it; more on that in cleaning a car dashboard without making it shiny.
Step 4: seats, seat belts and soft trim
Textiles come after the hard surfaces and before any dressing, because brushing fabric throws dust into the air. Method depends entirely on material, and each has its own guide rather than a paragraph here: fabric seats, leather seats, suede and Alcantara, and if you are unsure what you are looking at, every seat material explained. Marks come out before the full clean, not instead of it — see removing stains from car seats.
Seat belts belong in this stage, and they are the one part of the interior where the wrong approach has real consequences: webbing is safety equipment, so it is never soaked, bleached or allowed to retract damp. The method is in how to clean seat belts safely. Carpets finish the stage, with the mats still out on the driveway.
Step 5: dress and protect — without making it shiny
Dressing goes onto the applicator, never onto the panel, and gets buffed off rather than left to sit. The target is the finish the car left the factory with — matte to satin, even, invisible. Wet-look shine on a dashboard is glare in the windscreen on a low winter sun, and it collects dust.
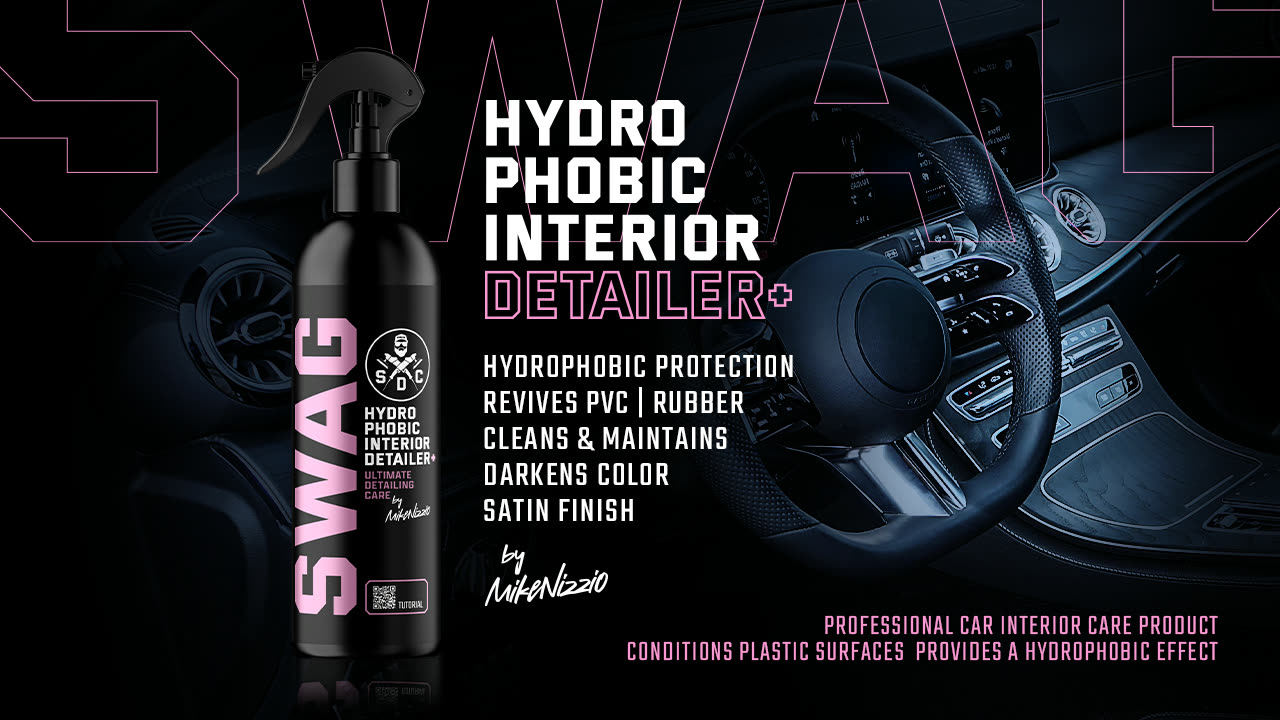
A hydrophobic product like SWAG Hydrophobic Interior Detailer+ earns its place where surfaces get handled and spilled on: door cards, the console, the boot sill. It deepens the colour slightly and makes the next clean quicker — that is the honest benefit. Three places never get dressed: the steering wheel, the pedals and the gear selector. Anything that makes them slippery is a hazard.
Step 6: glass last, inside and out
Interior glass is the final job because it collects the residue of everything else. The film inside a windscreen is off-gassed plastics, condensation and dressing overspray — which is exactly why dressing before glass saves doing the glass twice.
Two cloths: one lightly damped with a dedicated glass cleaner such as SWAG Glass Cleaner+, one bone dry behind it. Inside of the screen in horizontal strokes, outside in vertical — when a streak appears you know instantly which side it is on. Drop the side windows an inch for the top edge; the full routine is in cleaning car windows without streaks. Watch a whole interior go from filthy to finished in this order:
Frequently asked questions
What order should you clean a car interior in?
Strip it out, dry-brush and vacuum from the headlining down, clean hard surfaces, then textiles and belts, then dressing and protection, and glass last. Dust falls downwards, liquid runs downwards, and glass catches the overspray from every earlier stage.
How long does a full interior deep clean take?
On a normally used family car, allow half a day working steadily, and most of that is the dry stage and the seats. A car that has never been done properly, or one that has carried dogs or builders’ kit, is a full day.
How often should you deep clean a car interior?
Twice a year suits most people, with a quick vacuum and wipe-down every few weeks between, and spills dealt with the same day rather than left to bond into the fibre.
Should I clean the inside or the outside of the car first?
Interior first, then wash the exterior. Vacuuming and shaking mats out throws dust that lands on the paint, and you will be kneeling on sills and touching door shuts throughout the interior job.
Is an all purpose cleaner safe on every interior surface?
On plastics, vinyl, rubber and door cards, a balanced-pH APC used on the cloth is safe and effective. It is not the right tool for leather, Alcantara, screens or seat belt webbing — each of those has a gentler technique for good reason.
Everything I used in this guide lives in our interior cleaning range, with the fabric side of the job in upholstery cleaning. Top down, dry before wet, glass last — that is the whole method.